Wellness
Step-by-step: DIY painting a mountain wall mural

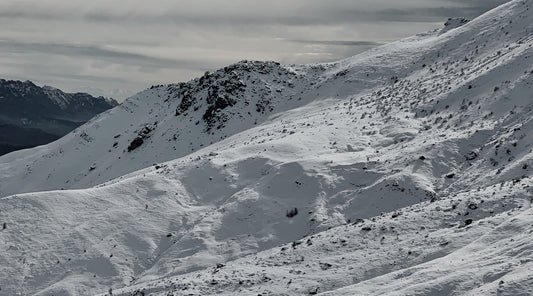
Feeling confined by your four walls? Is ‘restricted’ your current mood? Are you missing wide open spaces?
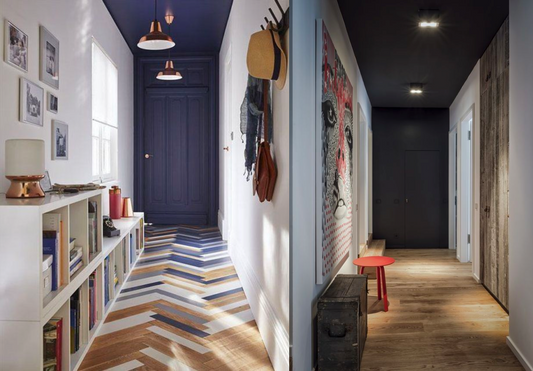
Now, maybe we can’t manifest a vast room out of thin air; but we surely can give our walls a landscape to get lost in. If you want something panoramic and dramatic, how about mountain ranges?
Painting your own mountain wall mural is a great way to add depth and character to your room. The straightforward process guarantees lots of fun and, at the end, you’ve got a majestic mural that soothes and excites the imagination.
To add to the experience, using Gush Care air-purifying paint means that you’ll also be enjoying fresh, clean air, round the clock. Ain’t no mountain high enough to keep you from great air quality.
Here’s a 101 on creating a stunning mountain mural.
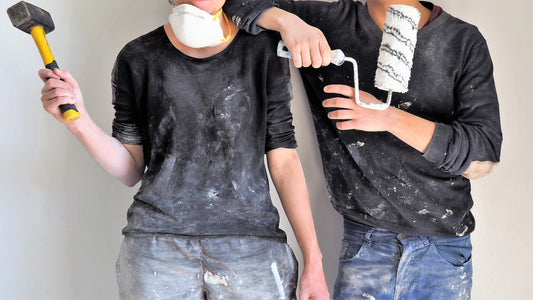
LGather your tools, get your paint, channel your inner Bob Ross and give your room a calming mountain vista. We’re using just a few main colours, but feel free to experiment with more.
Step 1: Set up your area

Move any furniture away from the wall. Use painter’s tape on the corners and edges so you have clean lines. Ensure your wall is smooth, clean, and primed with sealer. Lay out your drop sheets and secure them with painter’s tape. Get your wall all smooth, clean, and sealed up. Don’t forget: protect your space and your edges.
Step 2: Draw your mountain layers

With a pencil, draw out where your mountain peaks and ridges that are going to be. We’ll go for four layers, but again, let your imagination take charge.
Draw out your layers in pencil.
Step 3: Get your paint ready
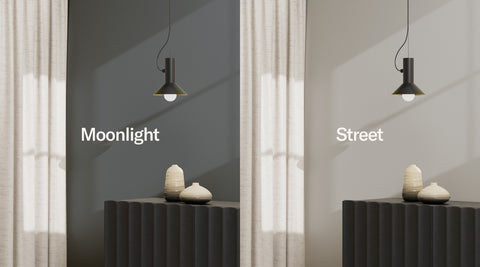
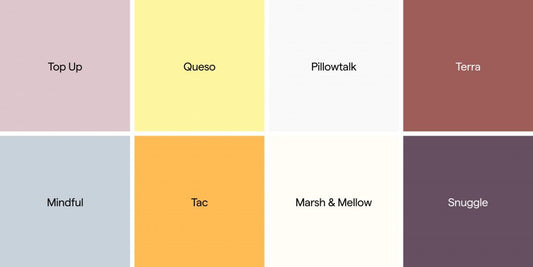
Here, we’re using Moonlight and Street. We’ll be mixing these together in separate amounts, so each layer has a distinctly different shade, across the spectrum from light to dark. Depending on the number of layers you’re going for, you’ll want to test out the mix in small amounts first, to ensure you’ve got a nice shade for each layer. Try to add dark colours slowly while mixing; remember, you can add, but you can’t take away.
Step 4: Start painting from top to bottom

To help plan and visualise the colours for each layer, mark them with a bit of paint in their respective shades. Then, it’s time to fill your layers. Starting from the top, paint the lightest shade up to the pencil lines you’ve drawn out. Remember to be attentive when cutting along the pencil lines, so they’re nice and sharp.
Why start from the top? It’s easier to touch up your mountains by painting over with a darker colour; plus, you’ll avoid any drip issues.
Starting from the top so drips can be painted over easily.
Layer by layer, light to dark.
For the next layer, clean your brush, then load up a different shade, and carry on painting.
As you proceed down the layers, you can decide whether to progress from light to dark, or to switch it up (which is what we’ve gone for). For contrast, we’ve painted the bottommost layer with the darkest colour.
Like you’re sleeping on the top of the world.
Admire the scenery.
And just like that, you’ve got an alpine horizon, right in your home space. If you aren’t up for painting an entire wall, you can try out single mountains, different shapes, different colours… Maybe even let the kids take their pick - the possibilities and variations are vast.
Try different colours too.
Wherever your imagination takes you, your mountain mural will always elevate your spaces to new heights of aesthetic and character. Start picking your colours and take to the skies.